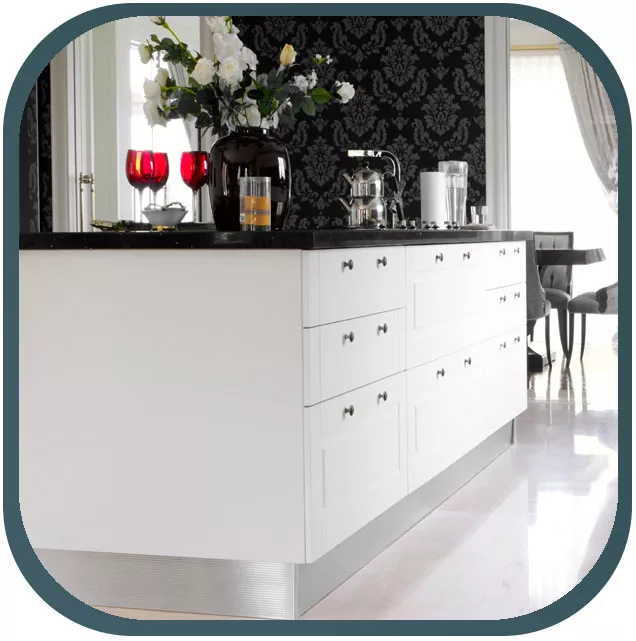
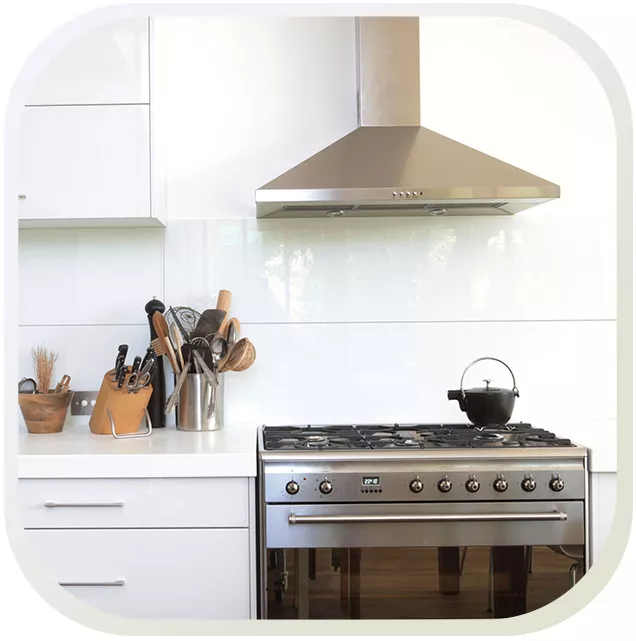
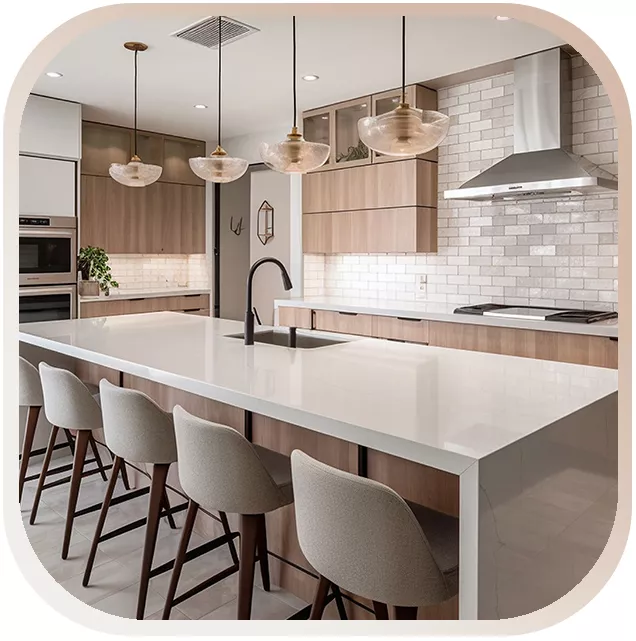
ATTENTION We would like to point out that a safety zone must always be set up in the area of the kitchen mirror behind a gas or electric stove with heating plates, unless these have a rear control element. Avoid exposing the product to open flames or extremely hot areas. The necessary free space must be at least the width of the stove and a height of 40 cm (see picture). You can visually blind the resulting open space with a stainless steel plate, for example. Leave a sufficient safety distance between the wall with the tape and other electrical appliances (e.g. toaster, microwave, etc.).
IMPORTANT INFORMATION
Please do not touch!
Avoid touching the self-adhesive area of the mosaic mat with your fingers. This can significantly impair the adhesion of the adhesive surface.
Where you are not allowed to use the product!
The product must not be used on kitchen worktops, on table surfaces, on walls in the shower and as Floor tiles are used. Never stick the product on freshly painted walls. Give the paint at least four weeks to dry before you apply the self-adhesive Peel & Impress mosaic mat. Absolutely taboo: Never expose the mosaic mat to direct open flames or extreme heat. (Don't glue them too close to gas or electric stoves - see below for details).
The product is only suitable for indoor wall surfaces.
BEFORE APPLICATION
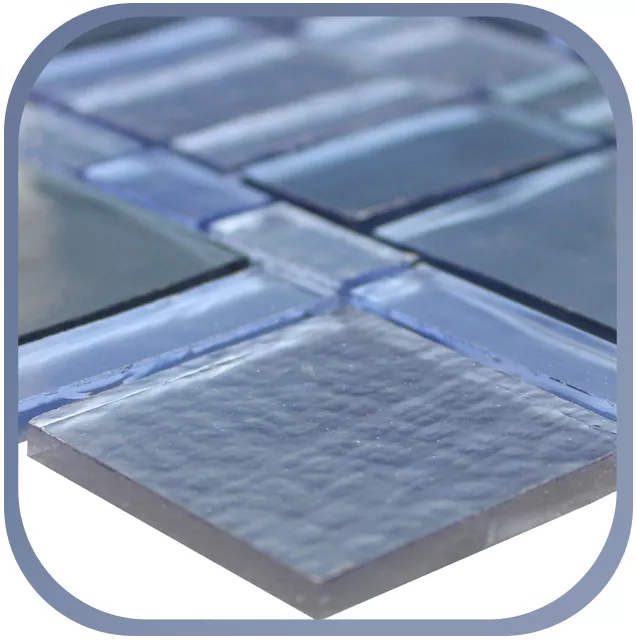
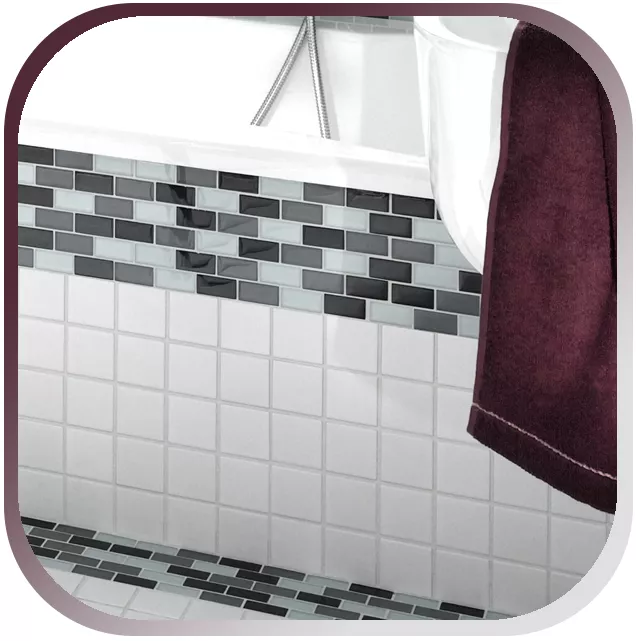
The self-adhesive Vinyl mosaic is easy to apply and easy to keep clean. The mosaic mat adheres particularly well to smooth, clean and dry surfaces such as existing tiles, painted walls or plasterboard. For the best possible result, follow the information and instructions below exactly. Materials required: sponge, spirit level, craft knife, silicone.
CARE AND CLEANING
Dirty self-adhesive vinyl mosaic Use just use a damp cloth or viscose sponge for cleaning. For more stubborn stains, we recommend using a mild detergent (soap). When using household cleaners, always check that they are free from abrasives and ammonia. Please note: Clean the mosaic mats immediately if they have been soiled by wine, oil, tomato sauce, hot water vapor or high humidity.

1.) CLEANING
Clean the wall
Wash the entire intended area with a strong Cleaning supplies. Remove any residue on the wall such as B glue, grease and dirt. Compensating for unevenness in the wall will have a positive effect on the appearance and ensure lasting better results.
2.) DRYING
Drying time
Let the surface enough time to dry. Give the surface enough time to reach room temperature before you attach the mosaic mats. The optimal processing temperature is between 18 and 38 ° C. Do not stick the product on if the surface is still cold after cleaning.
3.) POSITION
The starting point (the first mosaic mat)
The first Peel & Impress mosaic mat must be installed perfectly and straight, as all other mosaic mats are aligned with it. Pick the perfect starting point and take your time. It is best to draw a straight line with a spirit level and pencil. Align the top edge of the tile with the drawn line.
4.) CUTTING
The cut
Fold or bend the Mosaic mat never to be glued over an edge or corner. Measure the distance between the last mosaic mat and the corner. Cut the mosaic mat to the measured distance. Only use a cutter with a cutting guide for this.
5.) PULLING
The peeling process
Slowly pull the protective paper on the back from the corner of the mosaic mat away.
6.) STICK ON
The sticking process
Gradually attach the exposed mosaic mat to the wall. During the peeling process, gradually press the mosaic mat against the wall until you have completely removed the protective paper on the back from the mosaic mat.
Overlapping mosaic mats (for all other mosaic mats)
For the second and all other mosaic mats, overlap the ends of each mosaic mat on the one previously attached. Thus, after the installation, there should only be a single "joint" left between two mosaic mats. When gluing, do not just bump the mosaic mats against each other! Finally, press the mosaic mats together again in the overlapping areas. In the event that a mosaic mat or corner should peel off after being attached, simply use a small amount of clear glue to attach it to the wall again for the cosmetic repair.
7.) SEALING
The sealing
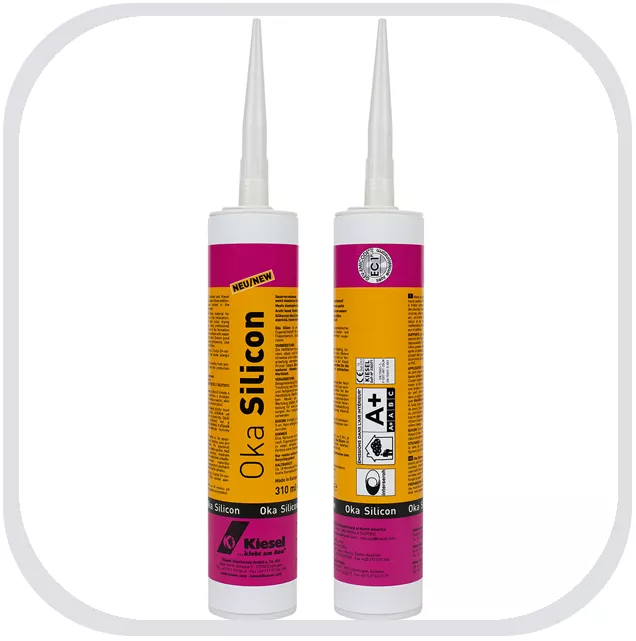
Now use the silicone on all edges between the wall and the mosaic mat. It is not necessary to seal the overlapping area between the individual mosaic mats with silicone.
REMOVE
Time for new mosaic mats
Removing the mosaic mats : Use a hair dryer and heat the surface to peel off the mosaic mats easily and carefully. If the mosaic mat was attached to a painted wall, the paint could possibly be peeled off when it is removed.

