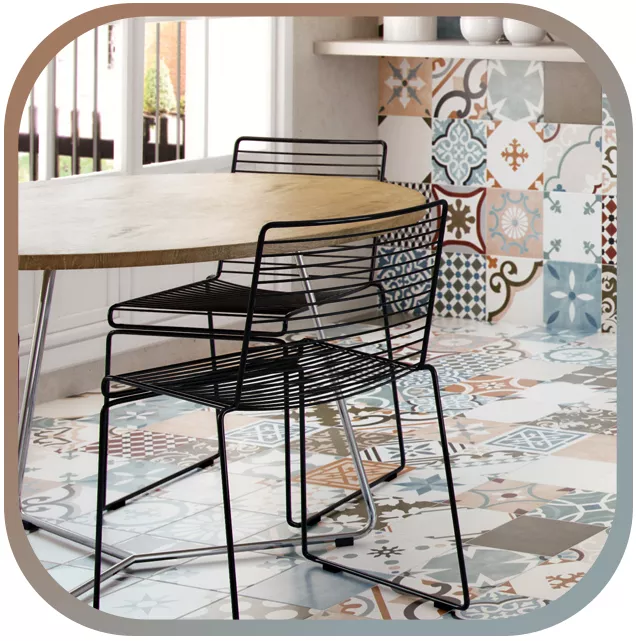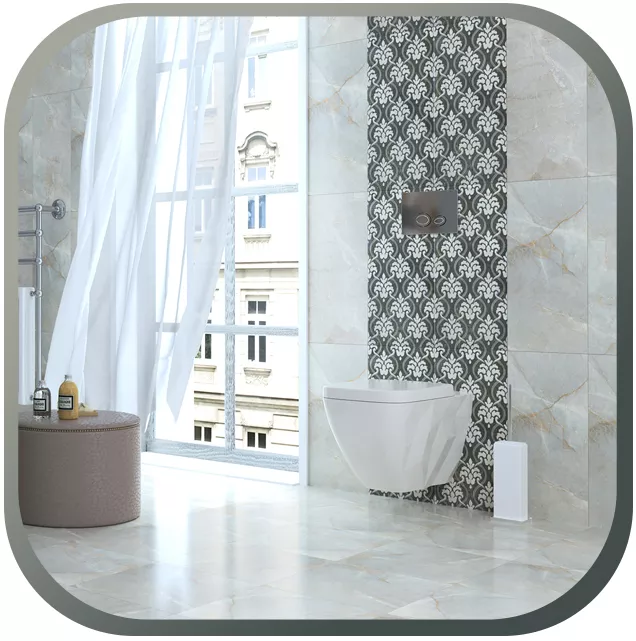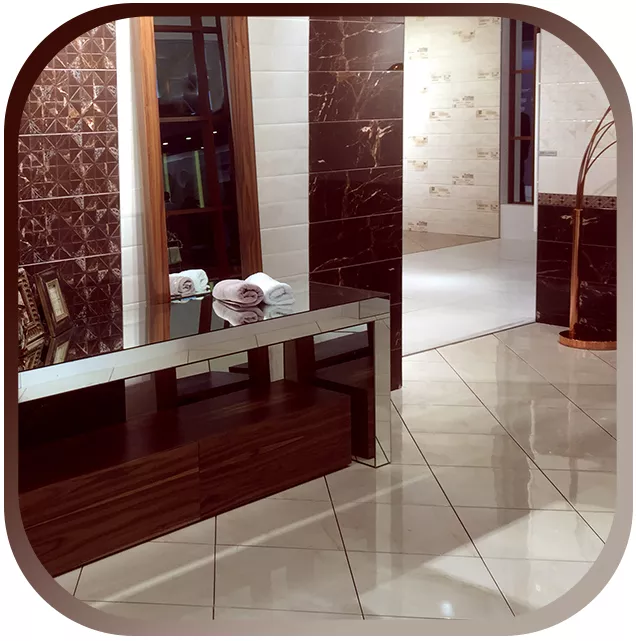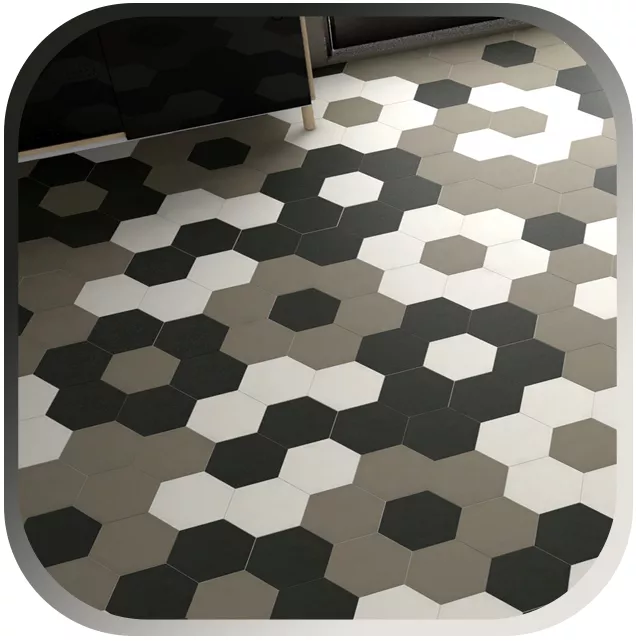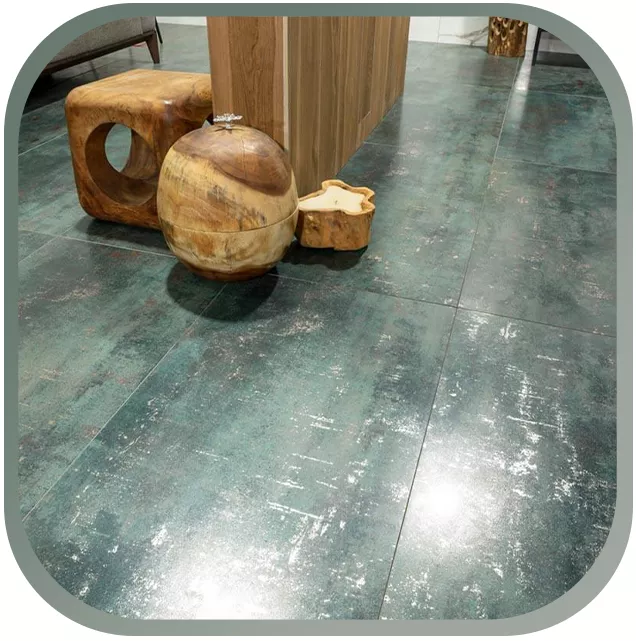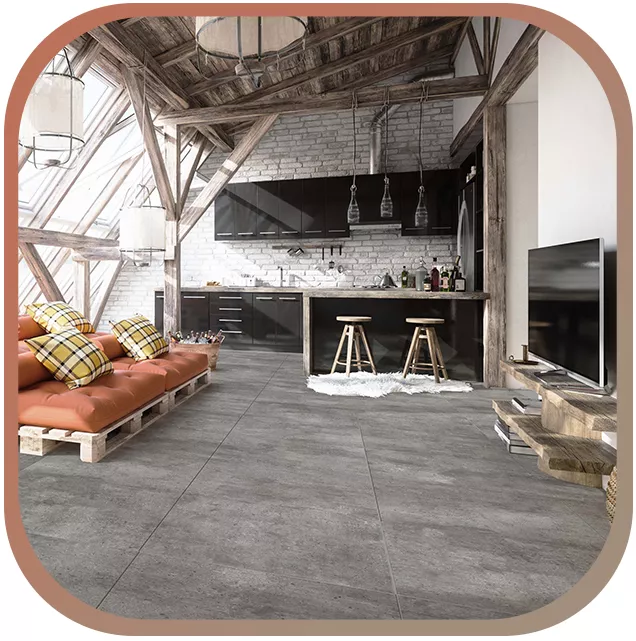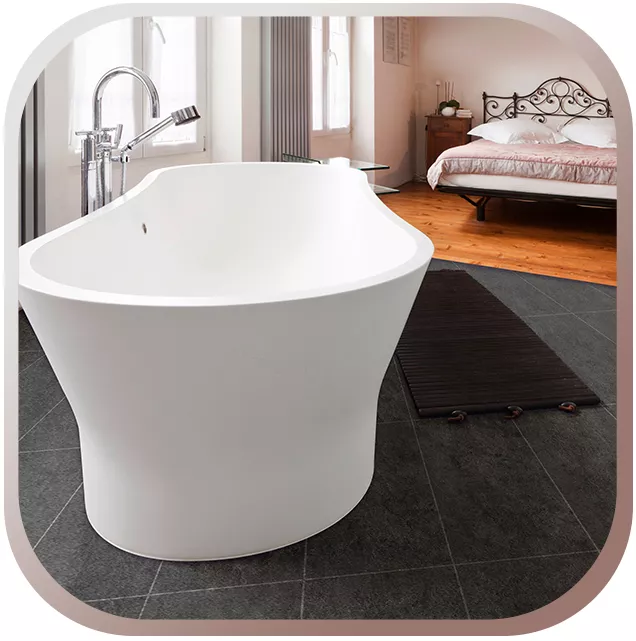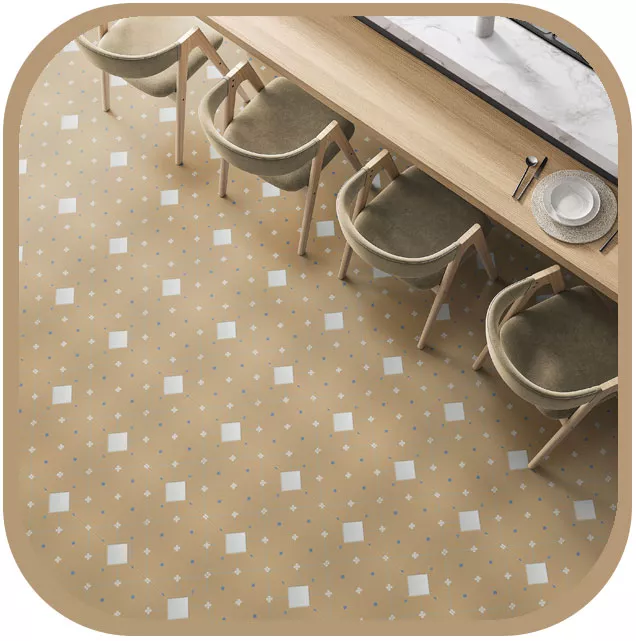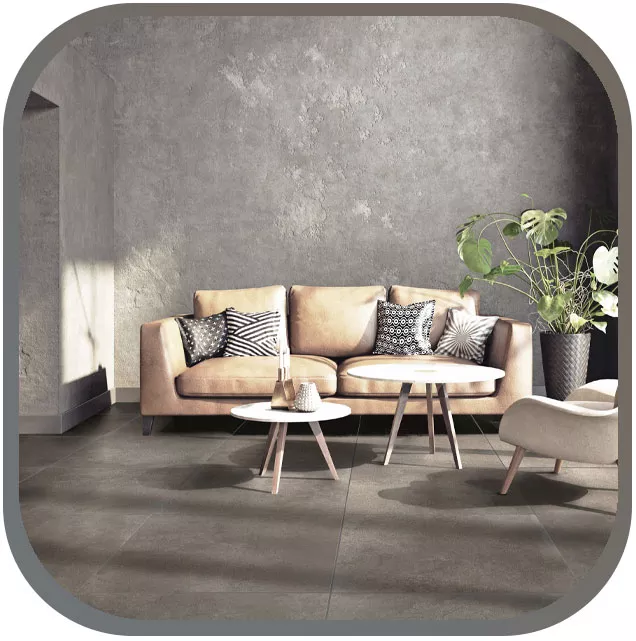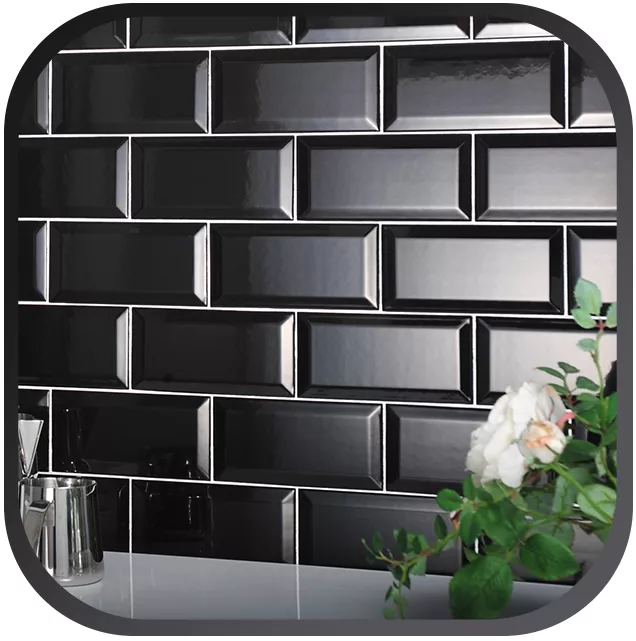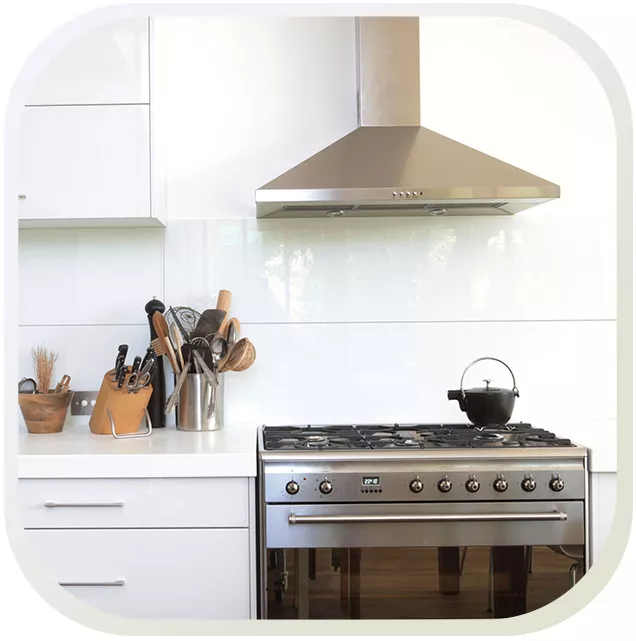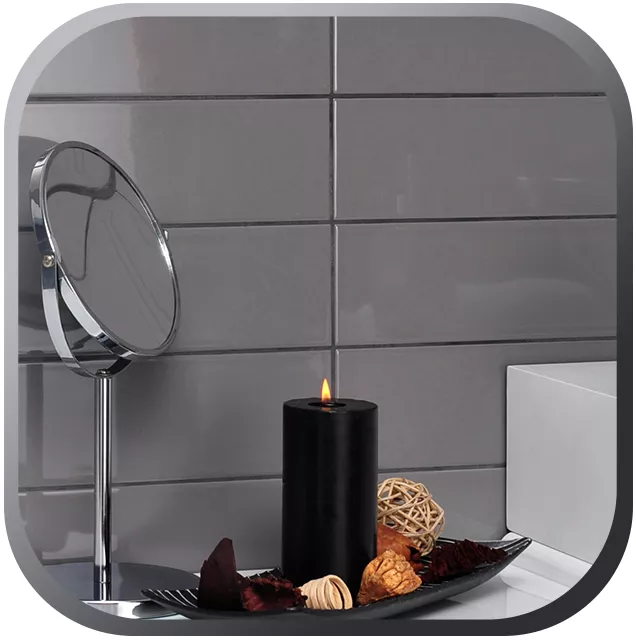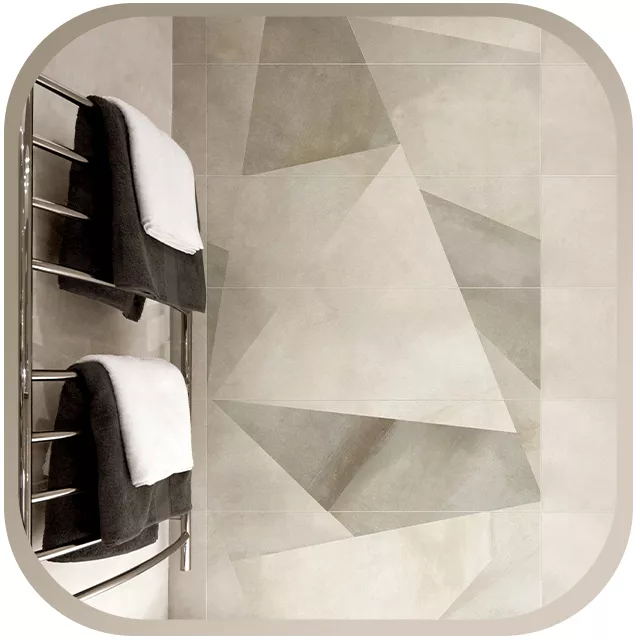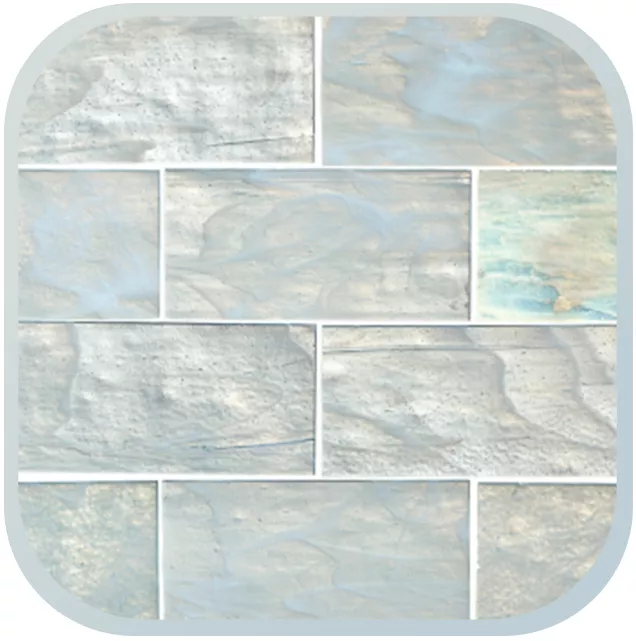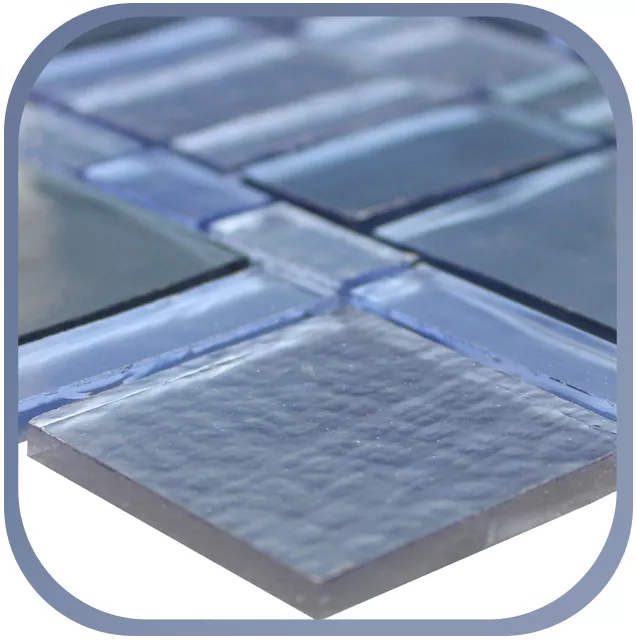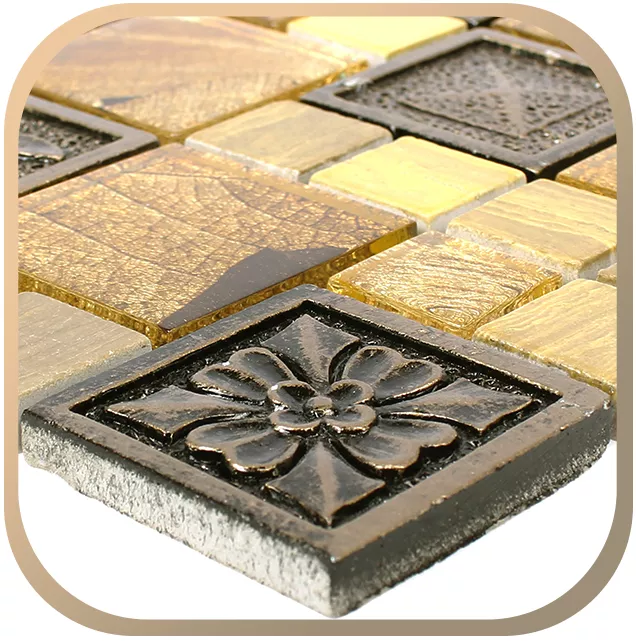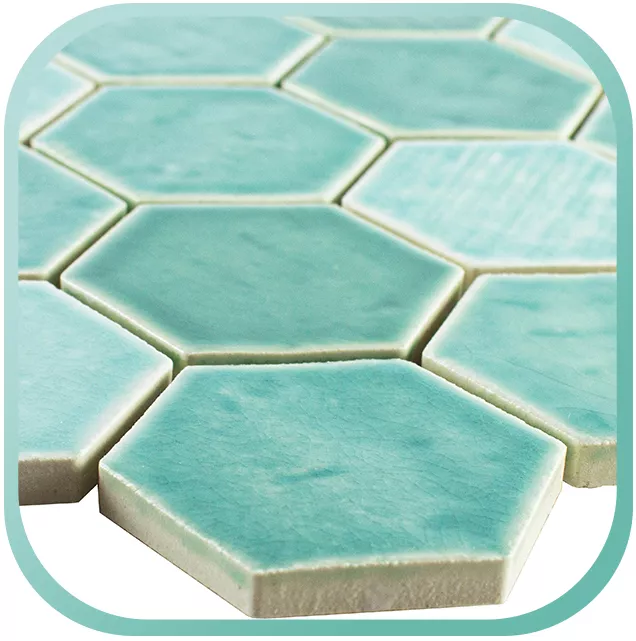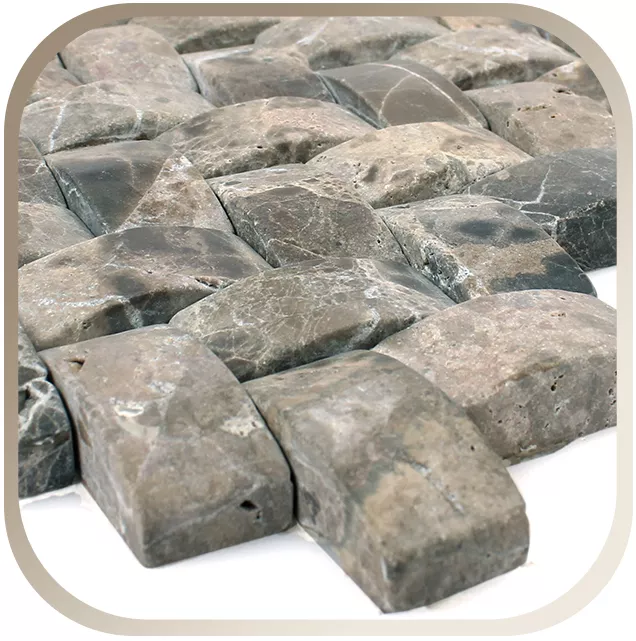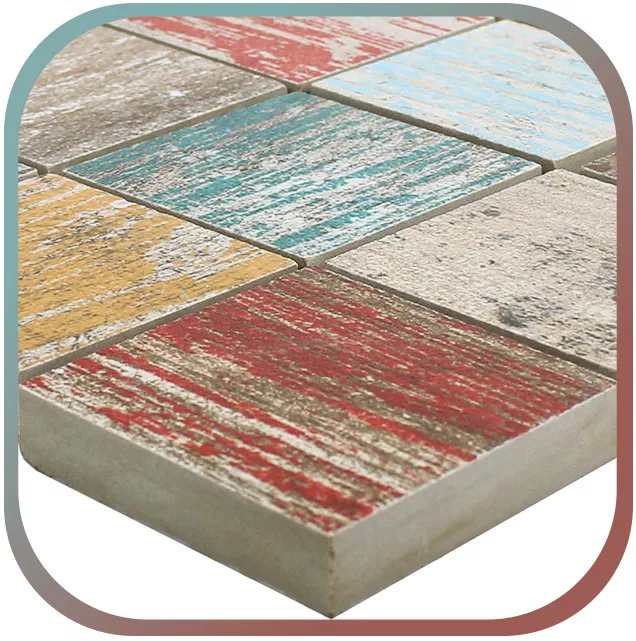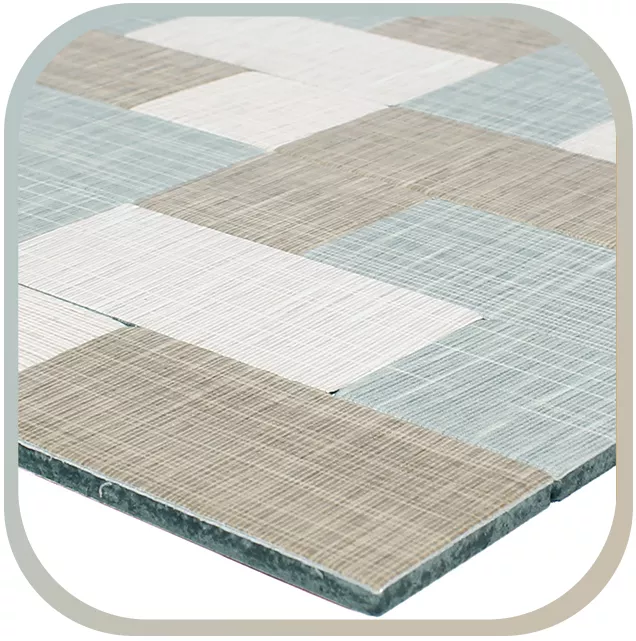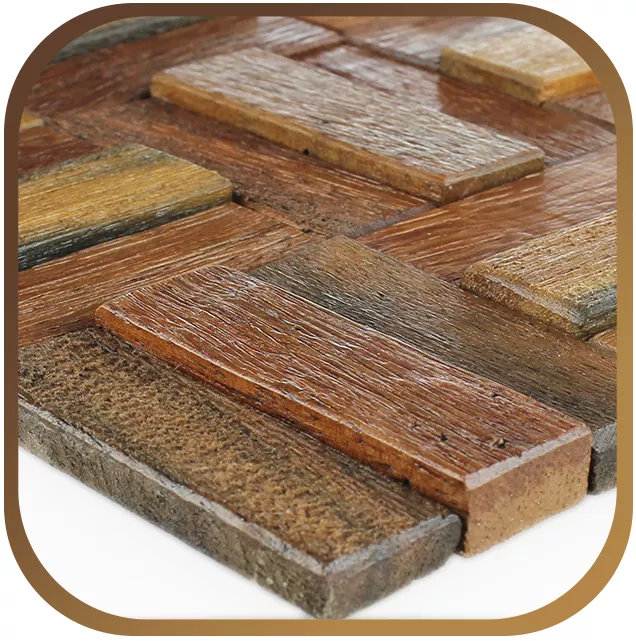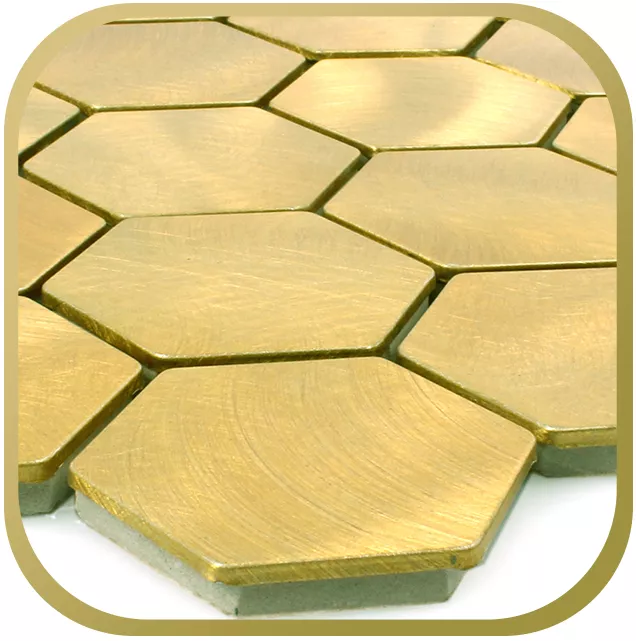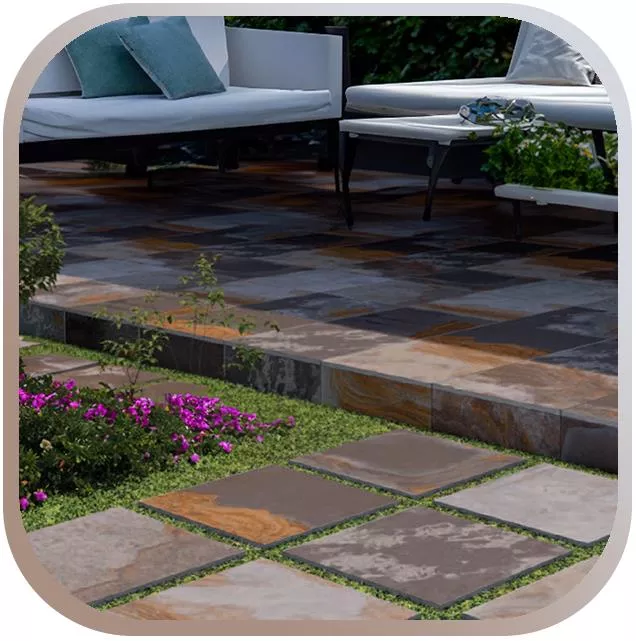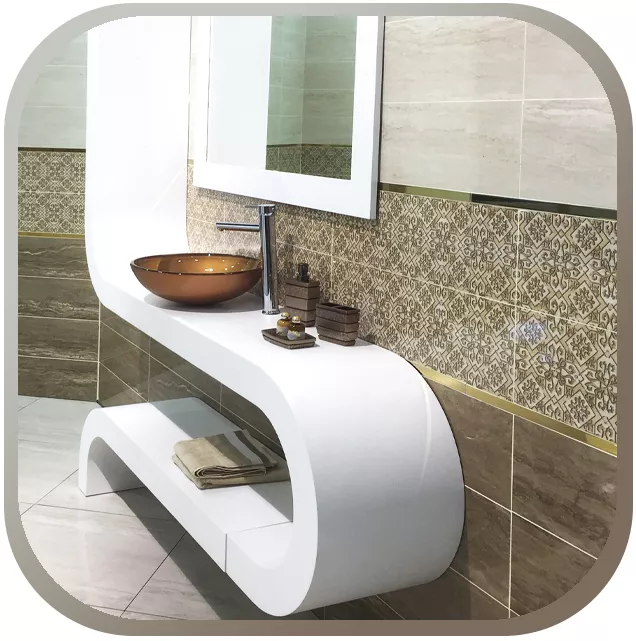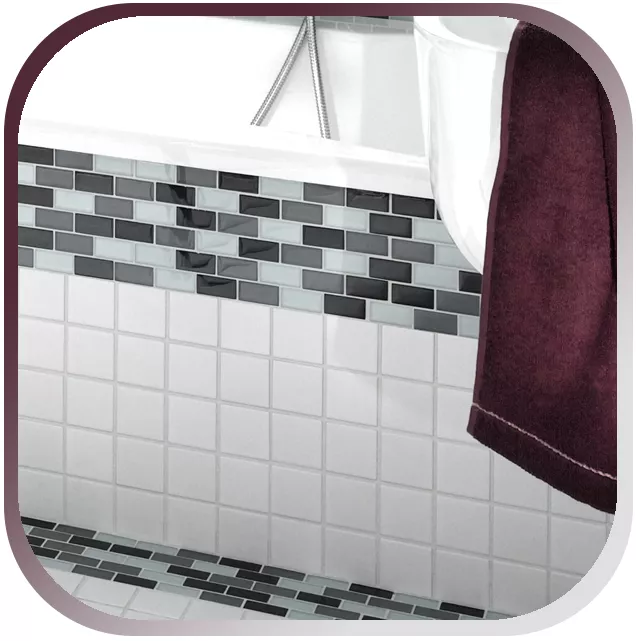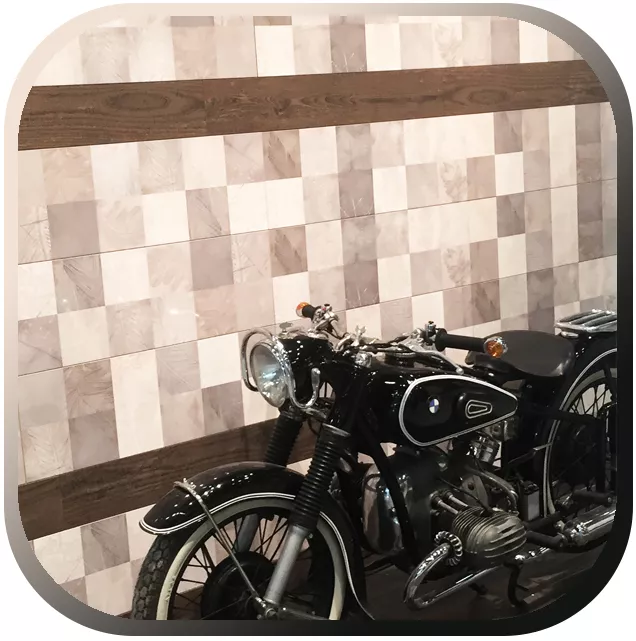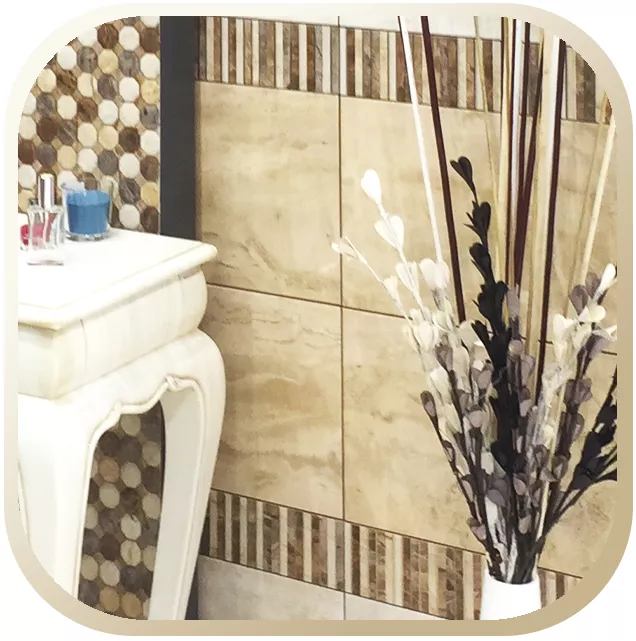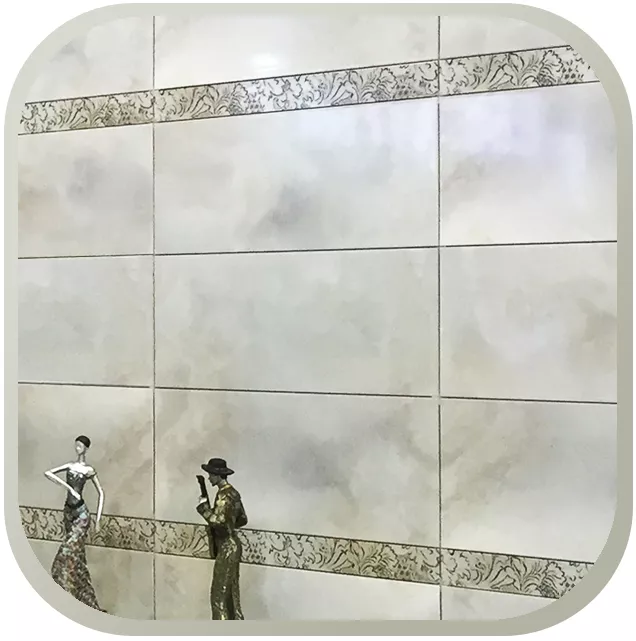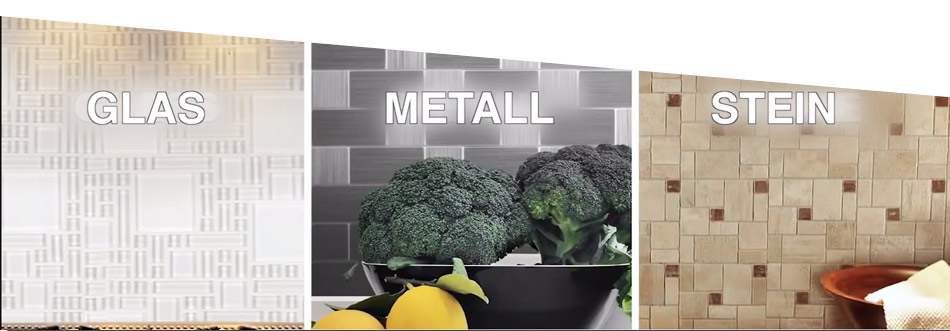
Mosaic on self-adhesive base for DO IT YOURSELF attachment. Improve the look of your kitchen or bathroom or use it for simple wall facing of any room.
IMPORTANT INFORMATION
Do not store the mosaic outdoors or in places with high humidity. The adhesive surface has a shelf life of 24 months until it is attached. In order to ensure the tightness of the glued mosaic, the mosaic mats must be grouted with an adequate joint material after installation. It is best to use an epoxy resin joint or, for example, Racofix RF-X fine joint. Do not use the mosaic mats in permanently wet areas. Do not tile shower stalls or other areas that are permanently exposed to water. (e.g. a swimming pool). Make sure the surface to be tiled is very clean and dry. Coarse and porous surfaces should be provided with a primer layer. Let them dry sufficiently before you attach the self-adhesive mosaic mats. Do not apply the product to latex, vinyl, or polyvinyl acetate (PVA) surfaces. The mosaic mats are very difficult to remove after gluing. Therefore, make sure that each individual mat is fitted precisely. If the product is not attached correctly, it must be removed again immediately. A mat that has been removed cannot be used again and must be replaced by a new mat.
The product is only suitable for interior wall surfaces.
BEFORE APPLICATION
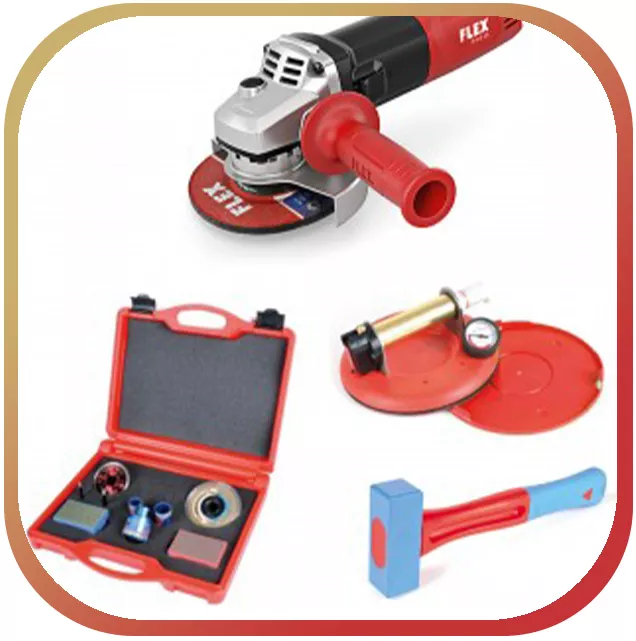
Check the self-adhesive mosaic for color and dimensional deviations before laying. Slight fluctuations are possible depending on the material and production. The mislaid goods are excluded from complaints. For the best possible result, follow the information and instructions below exactly (the latest version and other European languages available at www.moveandimprove.eu): Materials required ¡Sponge ¡Spirit level, eraser, cutter knife, polishing shovel / mason's trowel ¡Stir stick - Stir Stick, special Joint compound (epoxy resin joint or, for example, Racofix RF-X fine joint) ¡Optional: primer (eg for plaster, mortar or wood)
CARE AND CLEANING
Dirty Move & Improve self-adhesive mosaic mats Only use a damp cloth or viscose sponge for cleaning. Use a mild cleaning lotion (soap) for more stubborn stains. When using household cleaners, always check that they are free from abrasives and ammonia.
Read the manufacturer's instructions and recommendations before use.
1.) CLEAN
Clean the wall
Clean the wall Thoroughly clean the entire intended area. Without exception, remove and remove all wall residues such as Glue, grease, dirt.
2.) DRYING
Drying time
Allow the surface enough time to dry.
3.) POSITION
The starting point (the first mosaic mat)
The first mosaic mat must be attached perfectly and straight because all the other mosaic mats are aligned with it. Pick the perfect starting point and take your time. Place the mosaic mat on the surface before removing the protective paper from the adhesive surface. It is best to draw a straight line or the contours with a spirit level and pencil in order to avoid incorrect positioning.
4.) CUTTING
The cut
For laying in corners and / or on edges, we recommend cutting the back of the mat between the respective mosaic stones. Cutting through the mosaic stone can lead to breakage.
5.) PULL
The peeling process
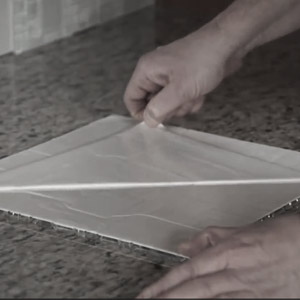
Align the upper edge of the mosaic mat with the drawn line. Slowly pull the protective paper back away from the corner of the mosaic mat.
6.) STICK ON
The sticking process
Gradually attach the exposed mosaic mat to the wall. During the peeling process, gradually press the mosaic mat against the wall with pressure until the protective paper on the back is completely removed from the mosaic mat.

7.) GROUTING
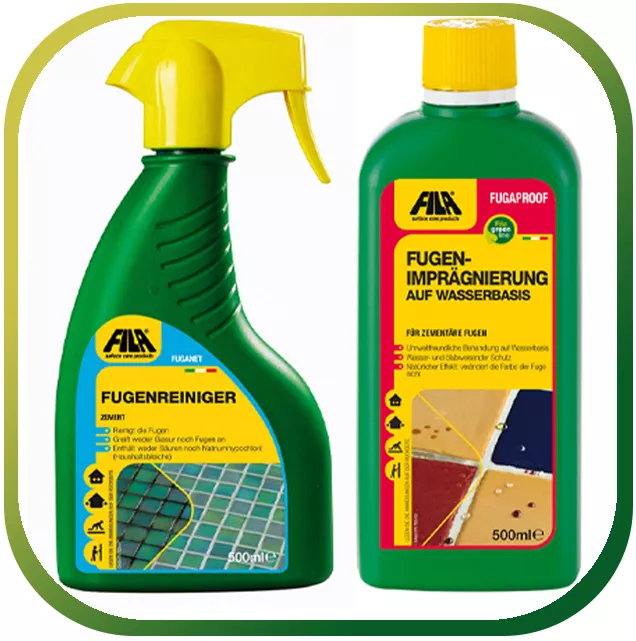
Follow the manufacturer's instructions for grouting. Let the grout work for a few minutes and then clean the freshly grouted mosaic with a damp sponge in circular movements. When the grout has set after about 12 hours, you can remove the excess grout with a cloth or a dry towel. To ensure tightness, you should only use epoxy-based joint material or Racofix RF-X fine joint.

